

Last updated on 13 May 2022
Lately, many clients have been asking for GIF files of their projects to post on social media. You can quickly move your export inside Adobe Media Encoder > select GIF, and hit that render button. While it is easy, it doesn’t work all the time. Let us cut to the chase and jump right inside the action to see how to make a GIF with After Effects and Photoshop.
There will be many situations where you will be asked to deliver a smaller file with better quality. This is precisely what we will be talking about.
Quick Guide on how to make a GIF with After Effects and Photoshop:
- Render the After Effects project with whatever video format you want.
- Import the video file in Photoshop.
- Navigate to “File” > “Save for Web”.
- Select a “GIF preset”, choose a destination and hit “Save”.
Pro Tip: If the GIF size is too large, go back to After Effects and change the video Frame Rate (FPS) to something between 12-15 frames per second. By reducing the frame rate, you will reduce the final size of the GIF.
What is a GIF?
GIF stands for Graphics Interchange Format, and it is a bitmap image format. It was developed by a team at CompuServe on 15 June 1987.
Since its birth, it has become widely used all over the internet due to its small size, broad support, and flexibility between applications and operating systems.
GIFs are well-suited for simple images such as logos or graphics with solid areas of colour and are less suitable for live-action videos because of the limitation of a colour palette.
The limit of the palette is set at 256 per image.
GIF Creation With After Effects and Photoshop
Step 1: Exporting the After Effects Project
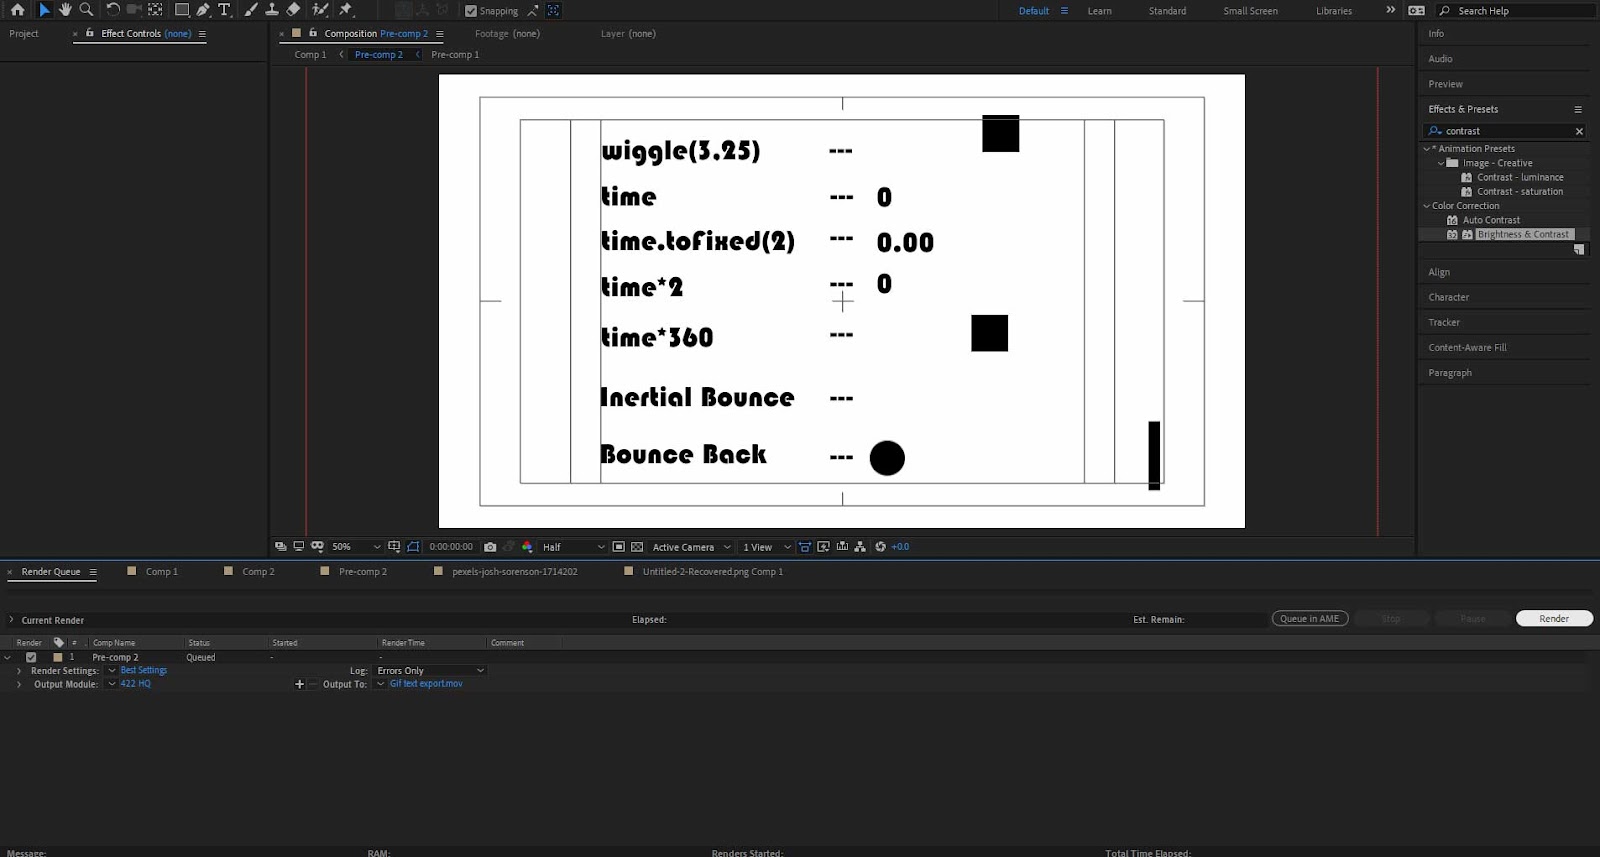
Your first step is to finish creating your After Effects project and export it with whatever video format you want. In my example, I am using Apple Prores 422 (HQ).
Make sure the first frame of the video is identical to the last. This will help a lot with the looping.
For a smaller GIF, you need to lower the Frame Rate (FPS) of the exported video to something between 12-15 frames per second.
The purpose of a GIF is to enable you to upload lots of stuff online without any strain on the servers and not give a good quality view of something.
Therefore, a little bit of stutter effect will not bother anyone in a small preview of a logo animation or animated graphic with simple shapes and will allow you to export smaller size files.
Step 2: Importing the Video File in Photoshop
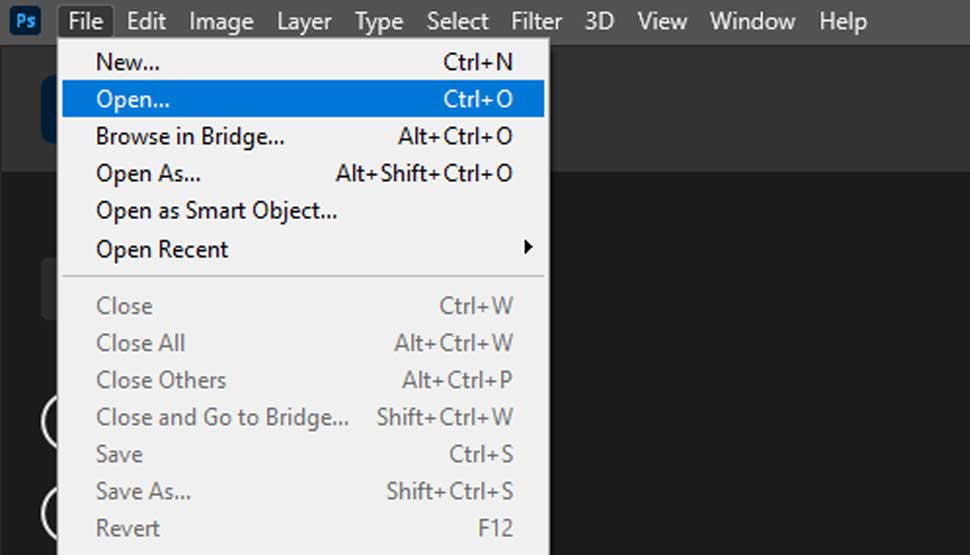
Open Photoshop and import your exported video clip by navigating to “File” > “Open” and select the video clip. You can now adjust your video clip as you see fit. Lots of Photoshop functions are still available to you. Therefore, you can colourise and scale your video just like you would do with an image.
Step 3: Save for Web
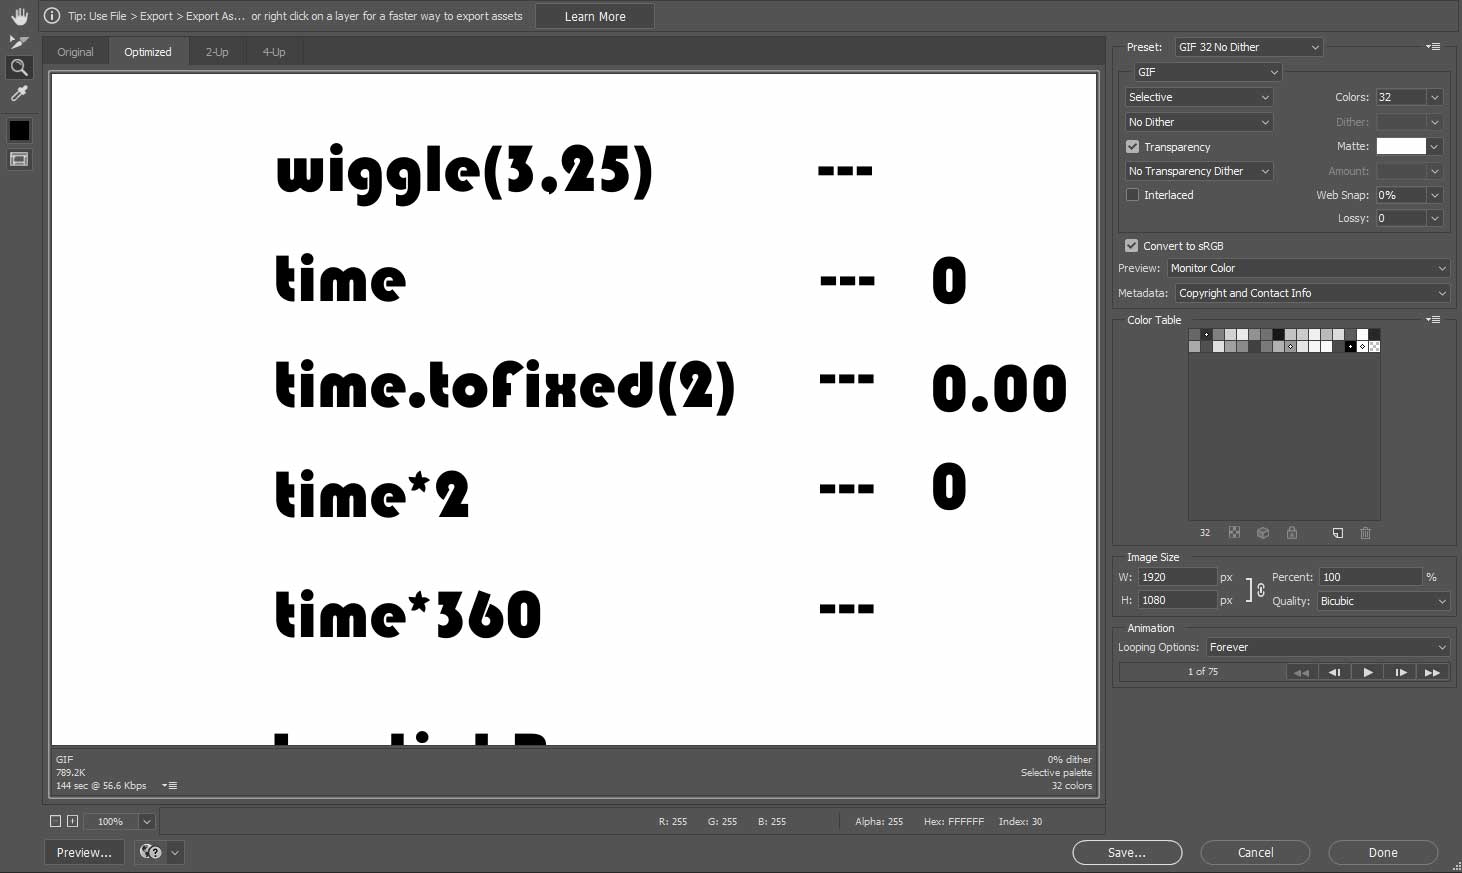
When you are ready to save your GIF, go to “File” > “Export” > “Save for Web(Legacy)”. For newer versions of Photoshop, the path will be “File” > “Save for Web”. Once you are inside the save for web window, you are presented with many options to choose from. Every option will influence the final size of the GIF and the quality, so let’s go through the most important ones:
Colour Reduction Algorithm
For GIF, you have to make sure that Color Reduction Algorithm is always set on Selective.
Colors
Depending on what type of GIF you want to make, the number of Colors per picture is significant for the size and quality of the image. For example, in my video, I need only 4 or 8 colours because I have only black and white colours, and I don’t need that many shades of grey.
Dither
If you set Dither on, Photoshop will add noise to your GIF and will considerably lower the size of your GIF file. This is useful when you want to make a gif out of a live-shot video and is not meant for graphic exports like the one in my example.
Transparency
Transparency is meant for videos that have an alpha channel. By activating it, Photoshop will include it in your GIF Export. The Transparency drop-down menu will tell your GIF how to interpret the transparent layers.
Interlaced
The Interlaced button is essential because it allows the Gif to be loaded online in multiple passes. While necessary and useful, this will also increase the size of the file. For example, if you go on your phone and access the website, you will load a lower-resolution version of the GIF to improve the load times.
Image Size
GIFs should not be that large, so something like 1920×1080 might be too much. To lower the file size, try to lower the Image Size.

Are GIF files of lousy quality and too large?
If you are looking for a better quality video solution for your website and still want a lower-size video file, you should also try the MP4 format. Using the H264 codec, you can make better quality videos than GIFs, and they run perfectly fine on the web. Most of the time, the files are much smaller too.
My uploaded videos’ settings are MP4 H264 1280 x 720, CBR (Constant Bit-rate) 1mb/s 30FPS. I can encode decent-looking videos and still keep the files on the small side. One of the best encoders is Adobe Media Encoder — make sure you get it.
You will need to upload it as an HMTL video onto your website, then make sure it is muted. I usually remove the audio when rendering the file as it will reduce the file size. You can also replay it on a loop, so it acts like a GIF.
Benefits to this method:
- Smaller file size
- Much better quality than a GIF
- Can get higher frame rates with a small file size
- Works on all web browsers
Cons:
- Videos will not repeat when posted to social media. You can only add a loop function on websites
- Some forums and social media only accept Gifs in comments
Settings to use:
- MP4 H264
- 1280 x 720
- CBR (Constant Bit-rate) 1mbps
- Framerate (use your projects framerate)
You can adjust these settings slightly to suit your needs. If the videos appear small on your site, you can reduce the resolution and bitrate. For smaller videos, use something similar to 960 x 540 at about 0.7mbps.

This is it! Now you know how to make a GIF with After Effects and Photoshop. Happy editing! Don’t forget to set the frame rate to something between 12-15 FPS and make the first frame identical to the last.