

Last updated on 3 December 2021
What is PluralEyes?
PluralEyes is a piece of software from Red Giant, which became part of the Maxon family of products. It enables you to sync multiple camera video footage with externally recorded sound at the press of a button.
All you have to do, record the camera sound together with other recording devices. It does this by matching up the waveforms of the external recording to the in-camera recording. Therefore, knowing how to use PluralEyes will surely make your life easier when syncing your video and audio files.
PluralEyes 4 is not a plug-in, and therefore it imports video and audio files directly from your computer. Version 4 is, however, also capable of importing timeline sequences directly from Final Cut Pro, Premiere Pro, and Sony Vegas and then exporting them back to these editors after it has synced.
The syncing process happens live in front of you. You can watch as your footage is being synced and moved into place. It’s colour-coded so you will be able to see if there is a problem or not in your syncs by turning red is the sync has failed.
How to Sync Media Files With PluralEyes 4?
Quick Guide
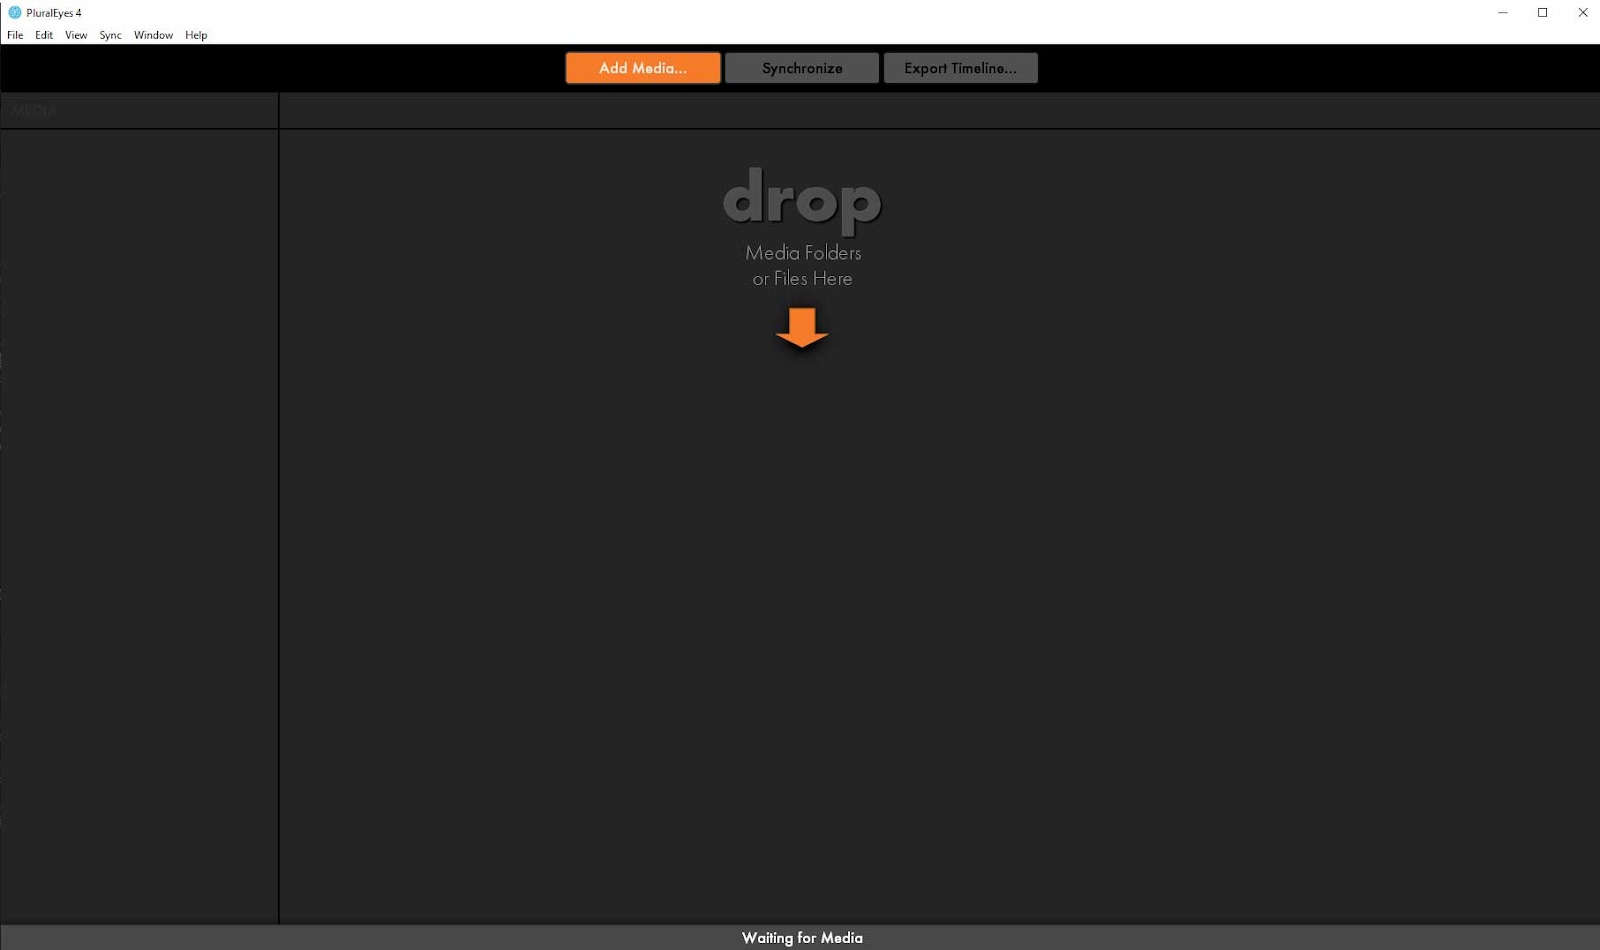
- Open up PluralEyes 4.
- Drop in all of your video and audio files.
- Press Synchronize.
- Export Timeline.
- Import the new timeline in Premiere Pro or another video editing software.
Detailed Guide
Step 1 – Import your media
After the installation, open up PluralEyes 4 and import all of your footage and audio files. You will notice that it will start preparing your files for synchronization. This process may take a while, it all depends on the number of files you want to import.
Step 2 – Sync your media
Now that your files are ready for synchronization, press the Synchronize button! This process may take a while, so find something to do meanwhile. After one hour, I got this:

You can notice blue and red coloured labelled footage. The red label indicates that the footage can’t be synced, while the blue label indicates that the footage is synced.
Step 3 – Export the timeline to your software
The final step is to export this timeline and import it into one of the supported video editing software, for example, Premiere Pro. To do this, press on the Export Timeline button, select the name and the path of the timeline file, choose the file format, and select one of the three options you have available: colour unsynchronized clips, move unsynchronized clips to the end, and create a sequence with audio replaced.
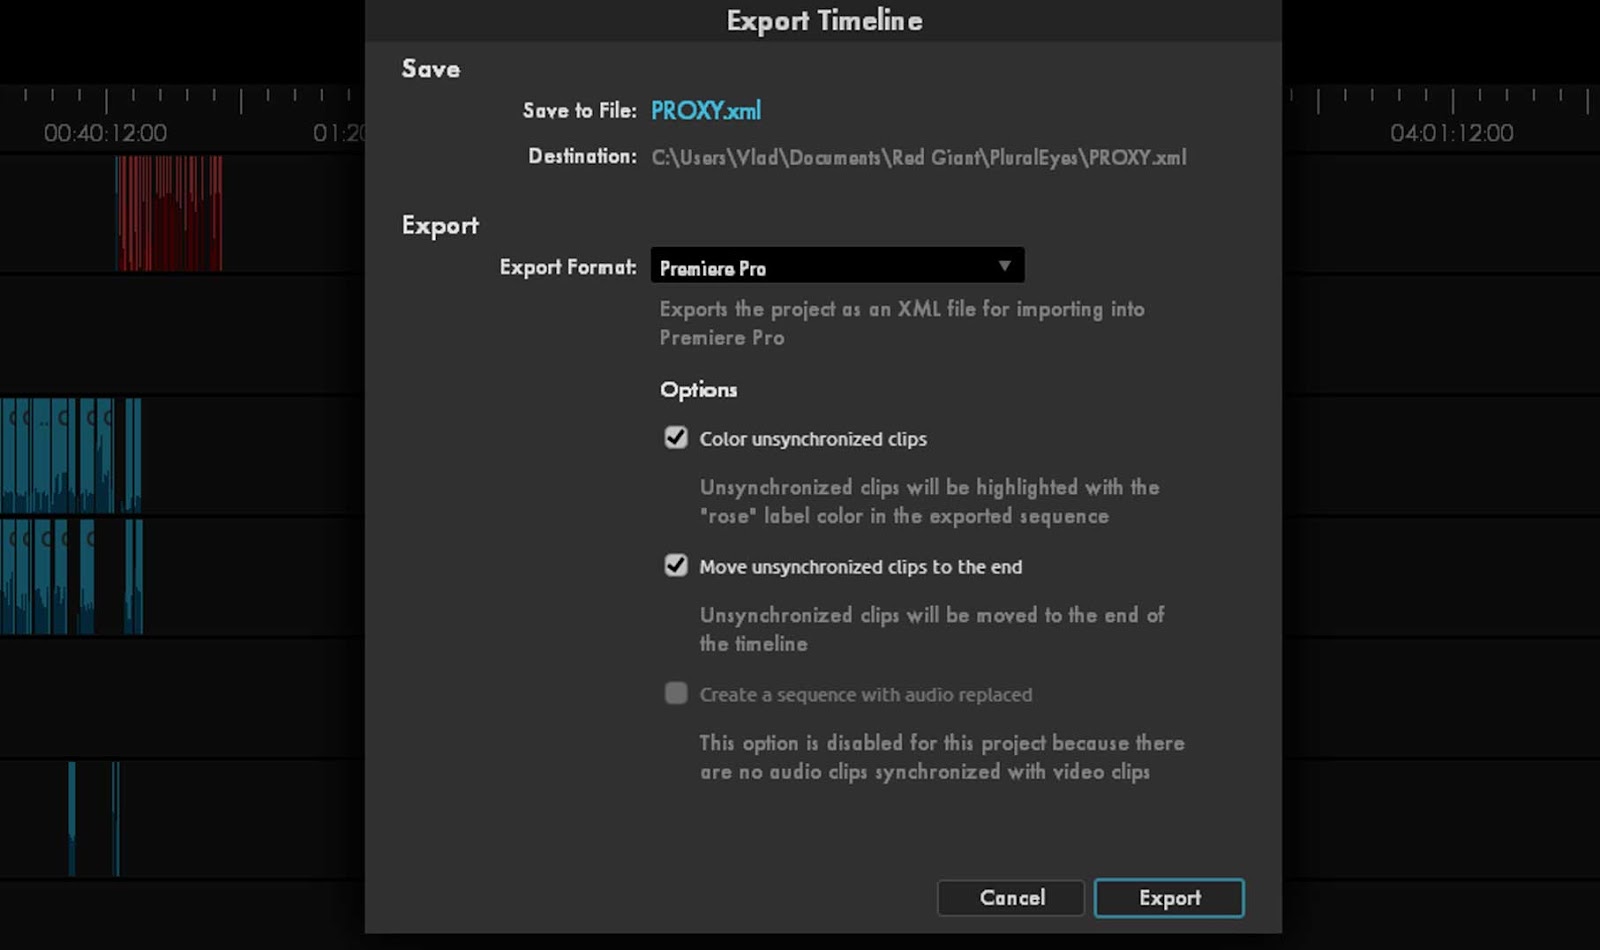
Export the file and then import it inside Premiere Pro or any other video editing software.
Conclusion
You will have to clean up the unsynced files and use only the synced area inside the timeline. Be advised, sometimes the wide-angle camera will not get synced because it is usually placed far from the actors and it will have poor audio, there is too much noise in the background, or there is strong wind if you record outside.
This is it! Now you know how to use PluralEyes 4 like a pro! This will speed up your workflow considerably and you will not have to spend hours trying to manually sync your cameras with audio.