

Last updated on 8 December 2022
When you want to make realistic water, Cinema 4D should not be the first program that pops up in your mind. One of the best programs for that is Realflow — it can create realistic water with no problems. The only problem is that it is expensive and you might not have the time to learn a new program and the money to invest. The good news is you can make water in Cinema 4D with ease.
The default tools can help you create something really close to the real thing, and with help with some paid or free plugins, you can make it look as realistic as it can get. In this article, I will show you how to make a small lake or pond surface water in Cinema 4D.
Quick Guide: How to Create Water in Cinema 4D
To make water in Cinema 4D, you have to follow these simple steps:
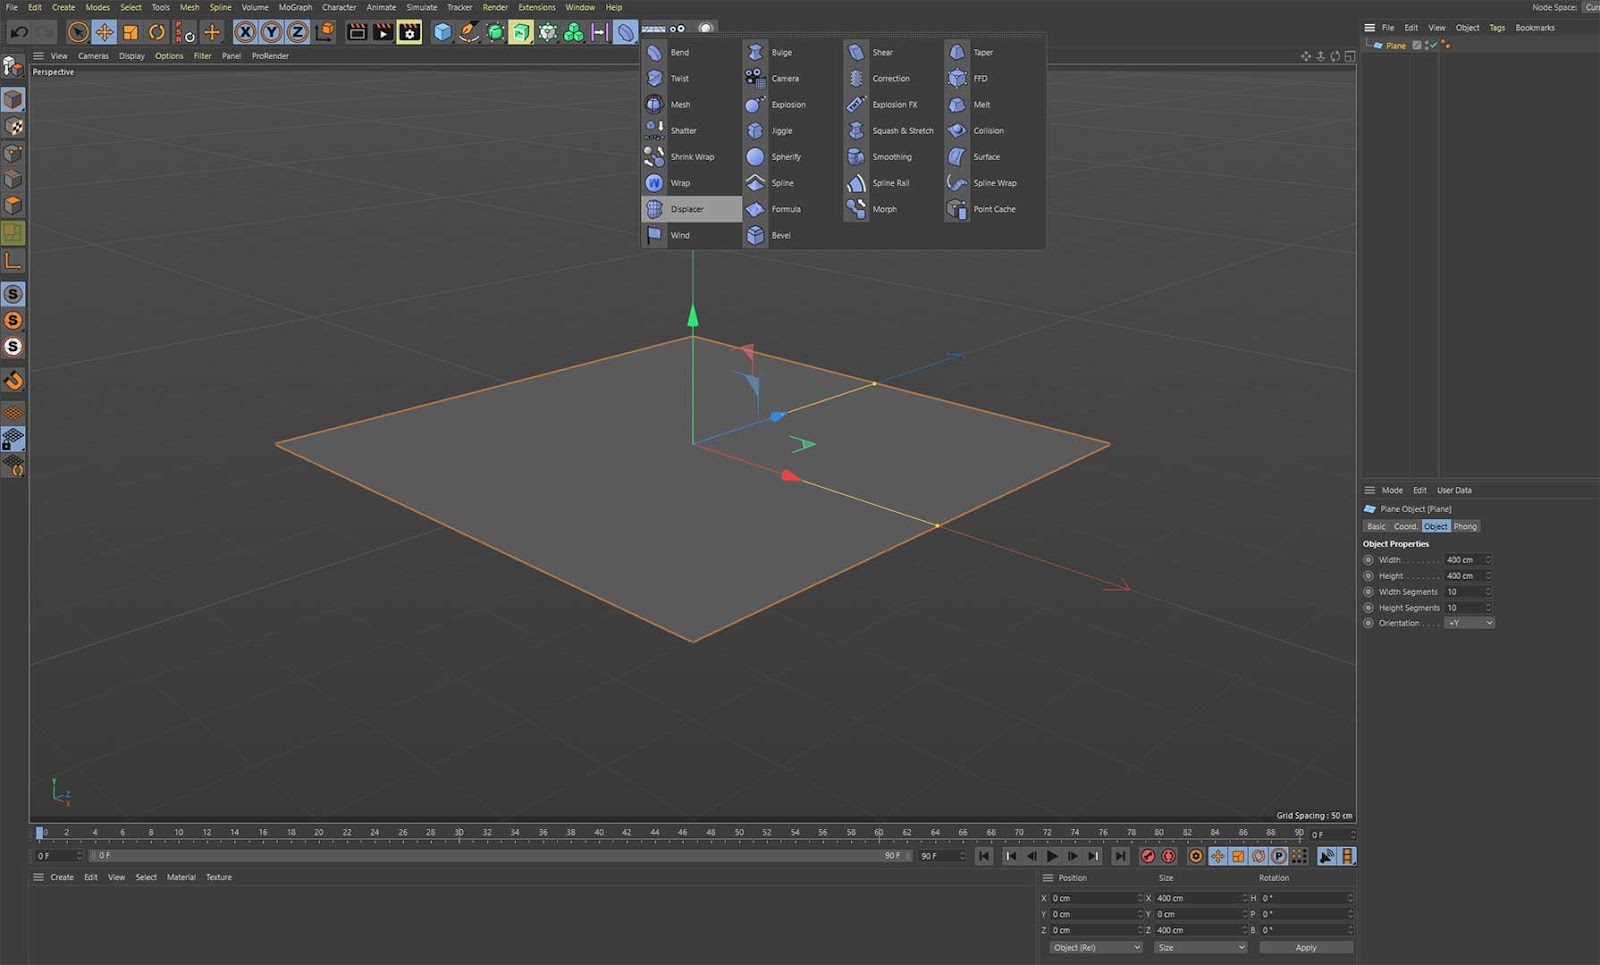
Step 1: Create a plane and drop a displacer underneath the plane.
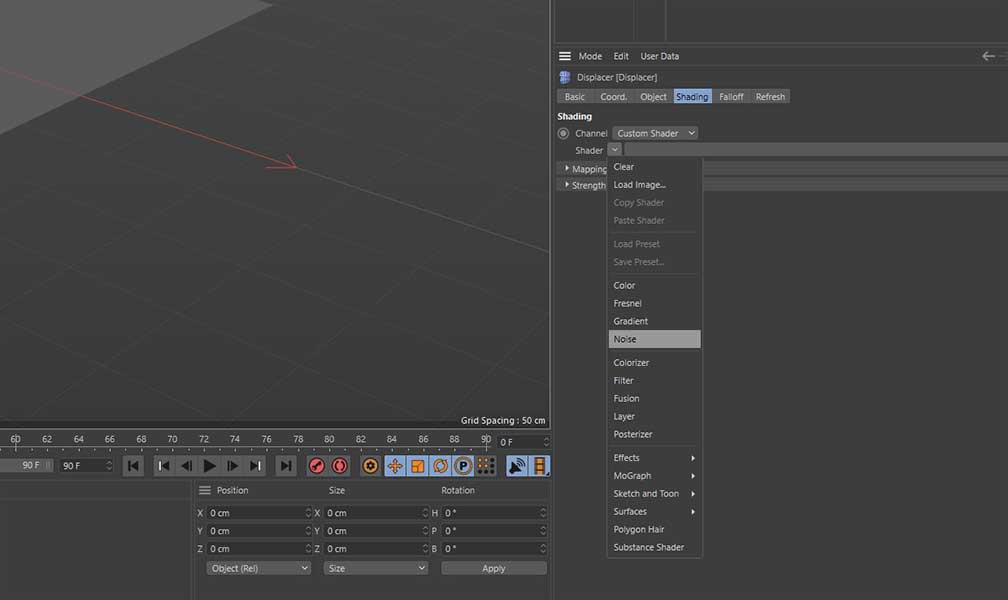
Step 2: Add noise to the displacer’s shader, create a subdivision surface and drop everything underneath it.
Step 3: Change the Animation Speed to 1-2%. It is inside the displacer’s shader.
Step 4: Add some lighting to the scene, make a water material, and add it to the plane.
Step 5: Render!
How to Make Water Quickly In Cinema 4D Without Plugins
This method uses no extra plugins and it is very simple and fast. To do it, create a plane and add a displacer to it. You will have to drop the displacer under the plane to deform it. Otherwise, it will not work.
After you apply displacement to the plane, go to the displacer’s options. In the shading tab, add a Noise shader. It will instantly deform the plane, but if it does not, then you haven’t correctly applied the deformer to the plane.
The next step is to go inside the shader settings and set the Animation Speed to a value between 1 and 2. This will make the water ripple or move. You can try different values for this parameter — see what works best for you. There are a lot more settings here that will change the look of your water, feel fry to crank them up, and see how they will change the aspect of the water surface.
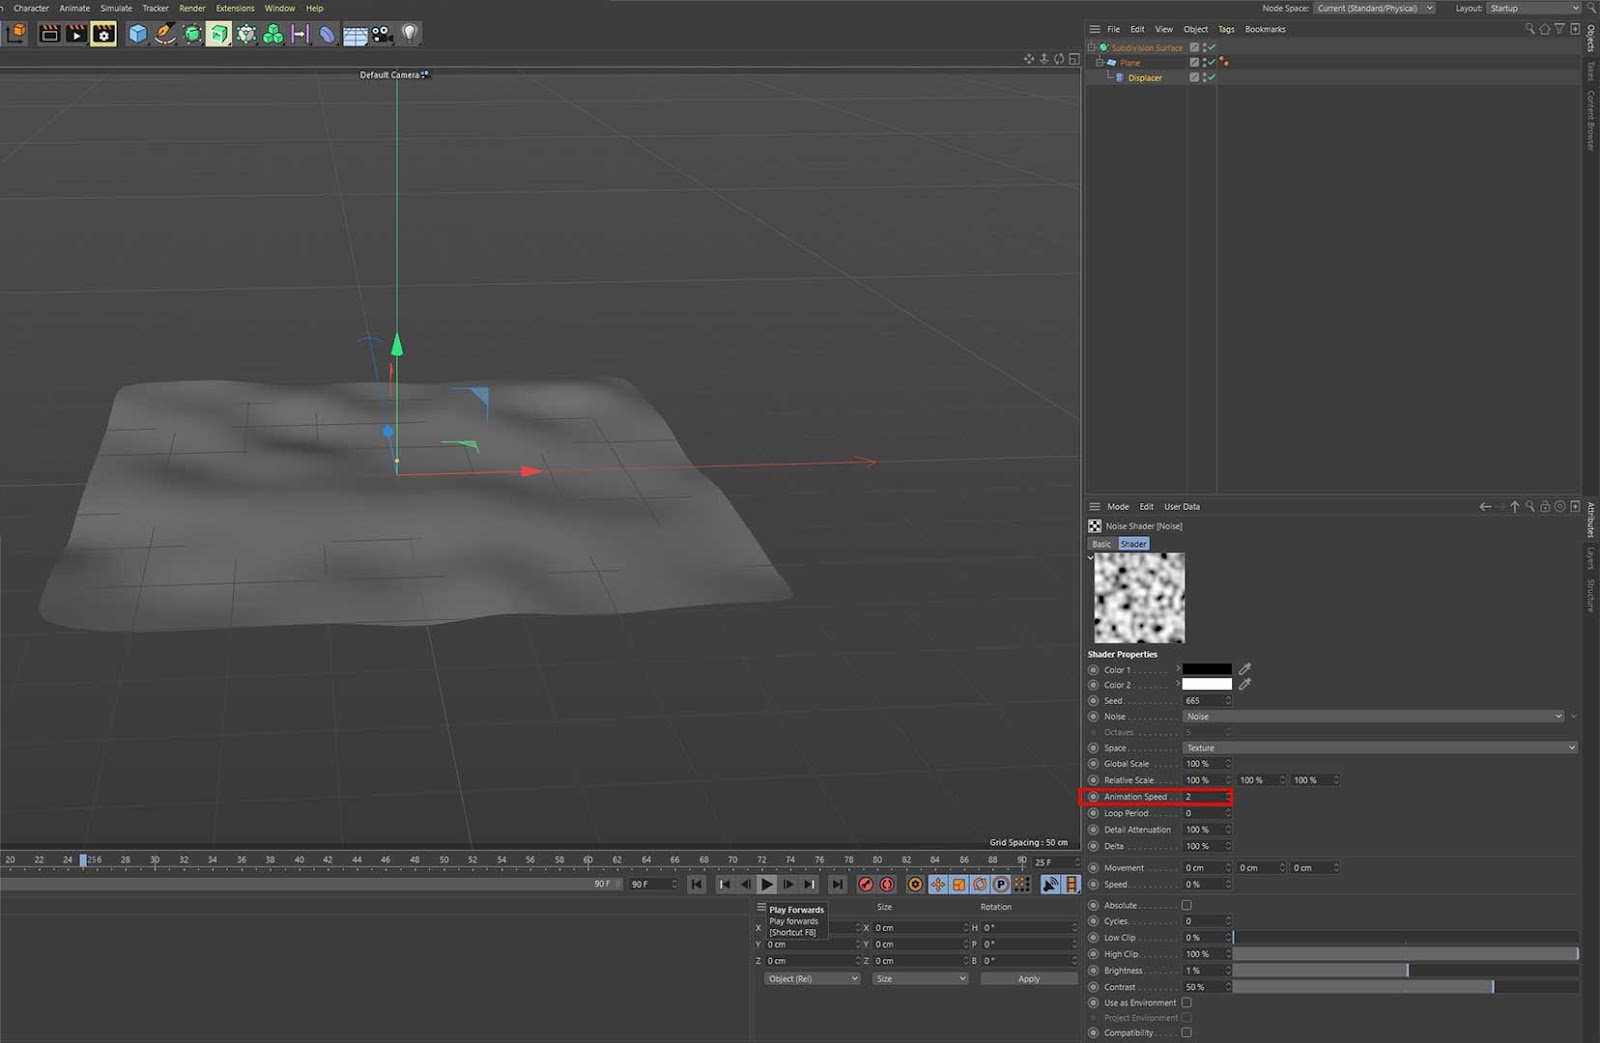
For example, if you raise the value for “Contrast”, the height of the water bumps will also increase. To soften the sharp edges, add a subdivision surface object. Go ahead and add it to the scene and drop everything underneath it.
It all looks good! The final step is to add some lighting and a water texture to your plane. Adding lighting is very easy — you can add a sky to your scene and some lights and that will do the job. About the water texture, you can simply load one from the presets, or make your own texture.
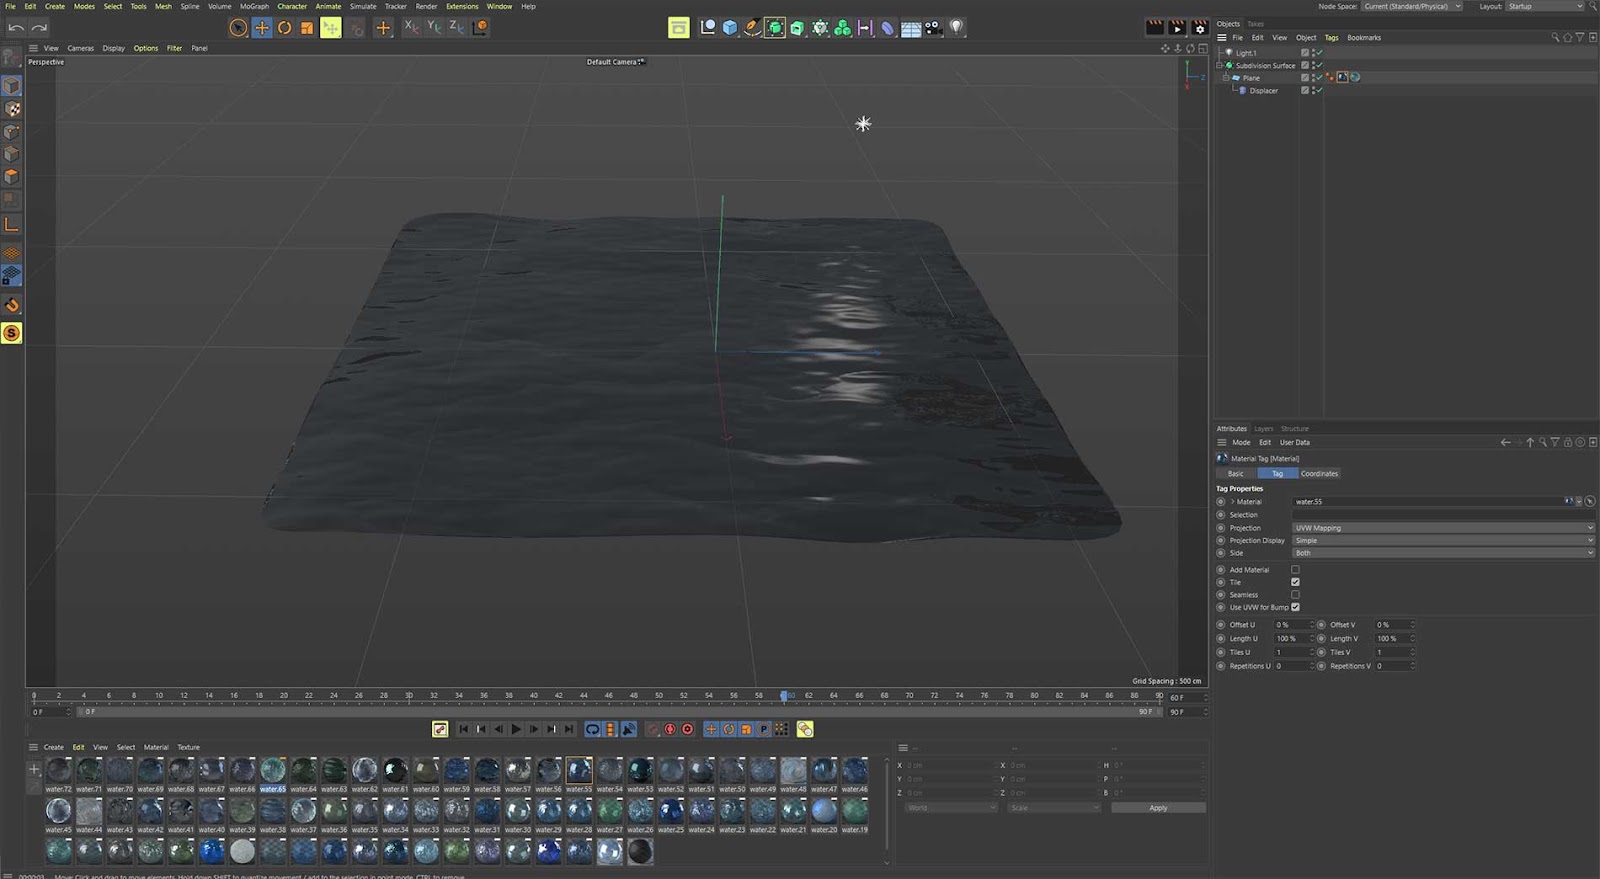
This is the fastest and easiest way to create a water surface in Cinema 4D. It is perfect for a pond or a lake, nothing too big…

Summary
There you have it! Now you know how to make a water surface quick and easy! If you want a more detailed water surface, something like an ocean or waves with foams, I recommend checking this free HOT4D Plugin at http://www.valkaari.com/?cat=40.
This HOT4D test was made by Helge Kiehl.