

Last updated on 1 March 2021
Flippin’ heck! You’ve got an image that you love, but how do you flip it so that it creates a cool mirror effect? Well, today you’re going to find out how to do it in this tutorial on how to flip an image in Photoshop. I’m using Photoshop CC 2020, but you can follow along with whatever recent version of Photoshop you have.
Mirror images can look really great and is an effect often used in portraits or abstract photos to create symmetrical designs. I’m going to use a couple of my own photos to show you how to flip images, but you can use any photos you have or download free stock photos to use from places like Pexels or Unsplash.
Here’s an example of how the finished image will look:

Before We Start! If you want to just Flip an image
If you just want to flip an image vertical or horizontal without mirroring it, then you can just go to Image/Image Rotation in the top menu bar in Photoshop, and choose how you want to flip or rotate your image.
Mirror an Image
1: Choose and open your image
Once you’ve selected your image, open it in Photoshop. Here’s my original image:

2: Duplicate the image
We’re going to make a copy of the original image so we don’t make permanent changes to the original image.
Along the top bar of Photoshop, you’ll see the Image menu. Click on it and choose Duplicate:

In the dialog box, name your copy “Mirror image” (like I have highlighted in the box) and click OK:

Close the original photo by clicking the “x” at the side of the image tab. Note: on a PC the “x” is at the right of the image title, on a Mac it’s on the left:

Now, we have only the “Mirror image” duplicate photo open in Photoshop.
3. Crop
Go to the toolbar and choose the Crop tool by clicking on it:

4. Set the aspect ratio
Once you’ve selected the Crop tool, go to the Options toolbar at the top of the screen. There’s a dropdown box for the Aspect Ratio – set it to Ratio so that you can crop freely from the sides of the image:

5. Crop to the flipping point
Click on the left or right side of the crop border where the handles are, and drag it inwards to the point where you want the image to begin mirroring. I want to mirror from the model’s head, so I’m going to drag my crop to that point:

6. Crop any unwanted space from the other side
I want to keep the bricks on the right-hand side of the image, so I don’t need to crop any more of the image. If you have a lot of unwanted space on the uncropped side of your image you may want to drag the crop handle in from that side until you are happy with the crop.
7. Delete cropped pixels
Before you crop, go to the Options Bar and check the box next to Delete Cropped Pixels:

Then go along the Options Bar to crop the image by clicking the checkmark or by pressing Enter:

Here’s what my image looks like after cropping:

9. Duplicate the Background layer and use Free Transform
Go over to your Layers Panel on the right-hand side of the screen:
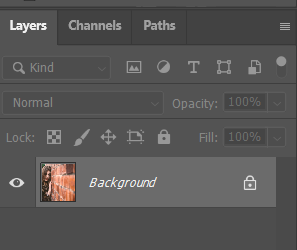
Create a copy of the Background layer by clicking and dragging down to the Add New Layer icon (+) at the bottom of the Layers Panel, or right-click on the Background Copy and choose Duplicate Layer from the drop-down menu.
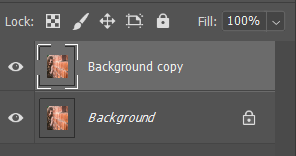
The copied layer then appears above the original in the Layers Panel:
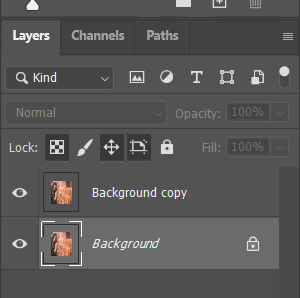
Click on the Background Copy layer to make sure it is selected:
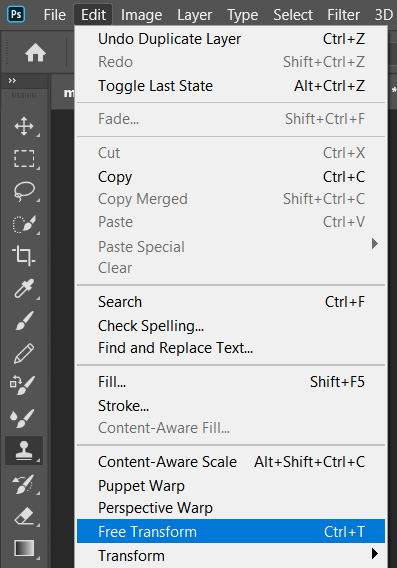
Next, go to the Edit menu in the top menu bar and click on Free Transform:
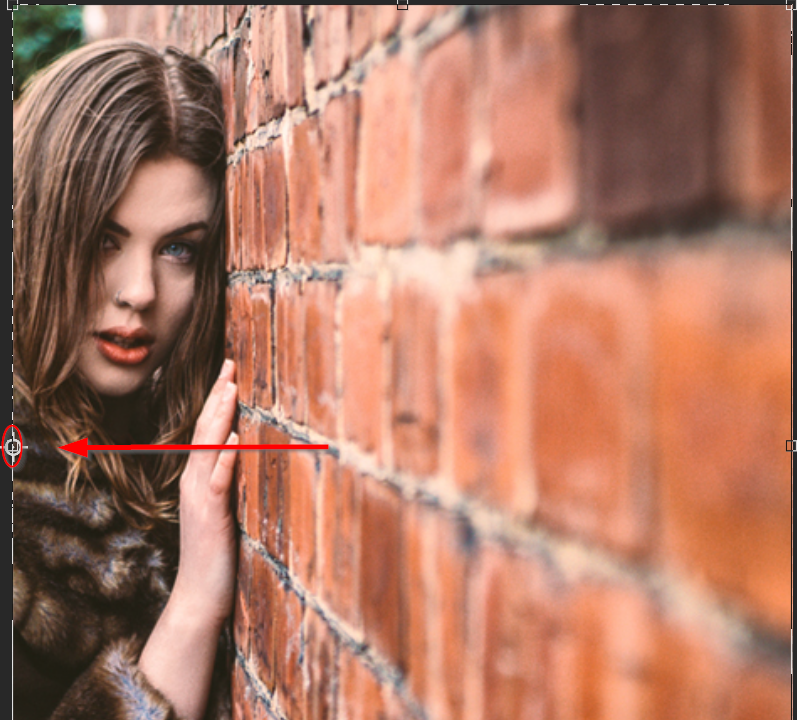
10. Drag the reference point to the side handle
Free Transform appears as a box with handles around the side and corners of the image. The centre of the box should have a target point, which is the Reference Point. If the Reference Point isn’t visible, go to the Options bar and click the Toggle Reference Point checkbox:


Click on the Reference Point and drag it onto the side handle of the box where you want the image to flip. I’ll be dragging mine from right to left:
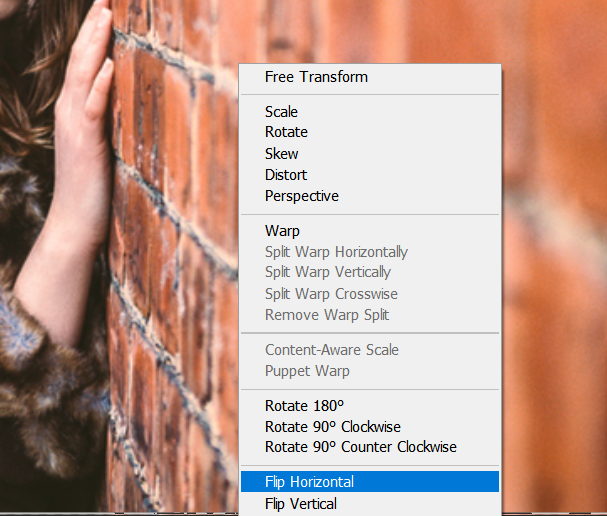
11. Flip Horizontal
Right-click for PC, or Control-click for Mac anywhere inside the image and click on Flip Horizontal from the menu:
It may seem as though nothing has happened, but the Free Transform box has moved to the area you want the mirror image to appear. Finish the transformation by clicking the checkmark in the Options bar or by pressing Enter.
12. Reveal All
If you can still see the crop border around your image now, then it’s because your crop tool is still selected. Press ‘M’ on the keyboard to deactivate it. You may be worrying because we still can’t see the mirror image, but we’re about to unveil it by using the Reveal All command. This is the moment you get to see your mirror image!
Go to the Image menu on the top bar, and choose Reveal All from the drop-down:

And there you have it! Your mirror image:

Try it with different types of images, like landscapes or flowers for different results, or you can flip your images vertically using the same methods but cropping and dragging from above instead of the side and selecting Flip Vertical instead of Flip Horizontal.
We’ll be doing tutorials later on that will walk you through making more complex symmetry, but we hope you enjoyed this tutorial on how to flip an image in Photoshop to start with!